GIY : How to grow your own happy batch of bacterial cellulose
The coronavirus pandemic has brought with it difficult challenges for families around the globe. Having to juggle taking care for your children and smart working from home is strenuous and demanding even for super-parents. Children too are having a difficult time in isolation, feeling restless, bored and restricted.
What could be useful in keeping the children busy and engaged in a meaningful way is to instigate a boundless space for experimentation through science. Being exposed to unknown, strange, diverse yet fascinating processes and beings and able to take up an active role of an investigator or observer can have a profound effect on child’s development and perception of the world.
With the spread of online misinformation and a lack of scientific approach in dealing with coronavirus, today, more than ever, it is essential to encourage independent thinking, foster creativity and emphasise the importance of trial and error as crucial steps in knowledge-building. Through exposure of children to real-world art and science applications, we can help unlock the potential for purposeful and impactful innovation - an inherent capacity of every little (or grown-up!) human being.
Video for Biodesign Challenge 2019 (c) The Nest Makerspace, video link
GIY Bio Buddies is a biodesign project by The Nest Makerspace comprising Anne Hu, Trisha Sathish and Emily Takara - runners-up at Biodesign Challenge 2019. The teen garage creators aim to produce toys that children can grow themselves. Exploring the idea of design being playful, the project also seeks to tap into the waste stream as part of the play activity.
The collective believes that simple engagement with biomaterials is a great way to spark interest in sustainability design. Rooted in their own experimentation with kombucha leather and mycelium, the project aims to promote engaging, approachable, and fun toys’ recipes.
Anne, Trisha and Emily have reworked GIY Bio Buddies workshop for Unbore in order to spark childrens’ interest in science and elevate the importance of learning through practice and play.
Keep on reading for detailed instructions with wonderful illustrations all produced by The Nest Makerspace on how to make SCOBY with your children!
***
SCOBY is a squishy, rubber-like material made by the bacteria in the kombucha. It is a bacterial cellulose that grows on the surface of the kombucha and acts as a raft for the culture to live on. Dried SCOBY is called kombucha leather and is a flexible, paper-like bio material. You can use kombucha leather as a craft material to make anything from lanterns to clothes - and here is how!

1. Get your materials
Ingredients
7 cups water
1/2 cup white granulated sugar
4 bags of green tea or oolong tea
1 cup unflavored, unpasteurized store-bought kombucha
Tools
2-quart or larger saucepan Long-handled spoon
2-quart or larger glass jar, like a canning jar (not plastic or metal)
Coffee filters or paper towels to cover the jar
Rubber band to hold coffee filter cover in place
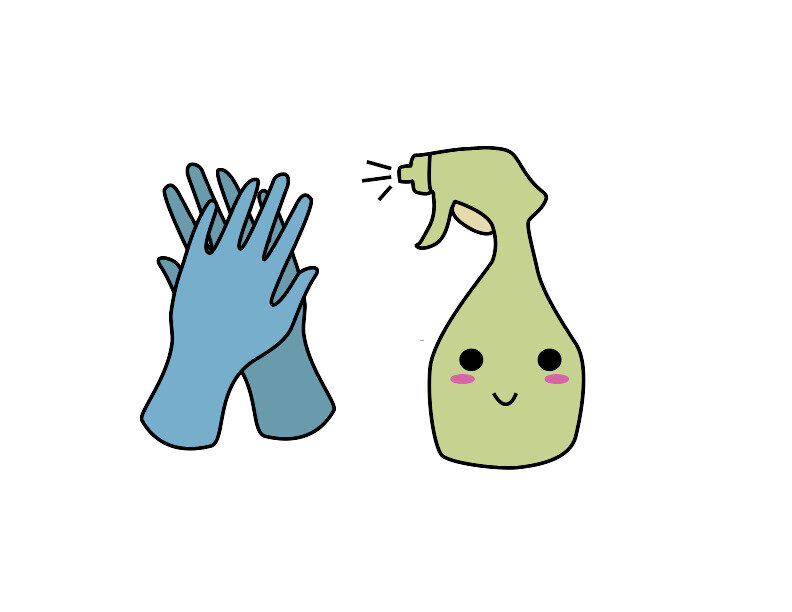
Disposable gloves
Isopropyl alcohol in a small spray bottle Tongs or chopsticks (for removing tea bags)
Cookie tray (work surface)
Small funnel for pouring (optional)
For growing sheets: Deep dish baking pan with a lid
For faster growing: seed warmer

2. Clean your tools and work surface
Wash your jars, sauce pan, funnel and cookie tray work surface. Spray with isopropyl alcohol. Put disposable gloves on and spray these, too.

3. Make the sweet tea
Bring the water to a boil. Remove the pan from heat and stir in the sugar until it is completely dissolved. Add the tea and steep until the tea cools to room temperature. Remove and discard the tea using tongs or chopsticks.

4. Combine!
Add the store-bought kombucha to the saucepan and mix. Place a funnel into the mason jar and pour the culture mixture into a mason jar.

5. Cover and store for 3-4 weeks
Cover the mouth of the jar with a coffee filter secured with a rubber band. This prevents other microbes from dropping in and contaminating the young culture.
Place the jar somewhere in the room temperature, out of direct sunlight, and where it won't get jostled. Sunlight can prevent the kombucha from fermenting and the SCOBY from forming, so wrap the jar in a cloth or black paper if you can't keep it away from the sunlight. To accelerate the growth, place the jar on a seed warmer between 68-78 °F (20-25 °C).
For more fun, decorate the top of your coffee filter lids with faces. You have growing organisms in the jar, so why not make the jar look alive?

6. Growing
Here's what you should expect to see:
First, bubbles will gather on the surface. For the first few days, nothing will happen. Then you'll start to see groups of tiny bubbles starting to collect on the surface (after about a week and a half).

Then, the bubbles will collect into a film. After a few more days, the groups of bubbles will start to connect and form a thin, transparent, jelly-like film across the surface of the tea. You'll also see bubbles forming around the edges of the film. This is carbon-dioxide from the fermenting tea and is a sign that everything is healthy.

The film will thicken into a solid, opaque layer. Over the next few days, the layer will continue to thicken and gradually become opaque. When the SCOBY is around 1/4-inch (6 mm) thick, it's ready to be removed. This might take anywhere from 3 to 4 weeks.

7. Harvesting
Place the SCOBY on a drying rack. Place the rack in the sun or a bright, well ventilated space to dry.
Note: do not place SCOBY on aluminum foil to dry as it will stick to it (we found this out the hard way). A cookie drying rack works well.
You can also get interesting textures by placing the SCOBY on a textured form like envelope embossers.
After removing the SCOBY, replace the coffee filter over the opening of your mason jar and grow a second SCOBY. This should take two weeks to four weeks. After this SCOBY has grown around ⅛ inch (3 mm) or ¼ thick (6 mm), remove it and place it on a drying rack.
You now have two dry SCOBYs to play with as a leather like material.
What will you make with them?

8. Growing a sheet
Prepare a tray to grow kombucha sheets. By now you have removed two SCOBYs from your culture and the culture in your jar is a dense population of bacteria and yeast. It can now be made into a bigger batch to grow a sheet of kombucha leather! Make another batch of cooled sweet tea and pour it into your deep dish baking pan that has a lid. This is new food for your growing culture. Pour the remaining culture liquid from your mason jar into the tray. Cover with the lid, but not tightly.

After a few weeks, when it is ⅛ inch (3 mm) thick, remove it, rinse it in cool water and lay it on a drying rack. If it is in direct sunlight, it should take four or so hours to become mostly dry. It will start to look translucent. Move the sheet and cookie rack inside to a well ventilated space to continue drying it. It may take a day to completely dry the sheet. Note: The SCOBY may not smell great but the smell will diminish as it dries.

Feed your culture. Once you remove the sheet, prepare another batch of sugar tea and add to the culture in the tray.
***
Take care of your batch with love and care! For inspiration for activities, tips and tricks about SCOBY application such as making lanters or a kaleidoscope, check out GIY Bio Buddies. Stay safe!

SCOBY kaleidoscope (c) GIY Bio Buddies, image link